sbu22
Guru
- Joined
- Mar 16, 2011
- Messages
- 1,253
- Location
- US
- Vessel Name
- Panache
- Vessel Make
- Viking 43 Double Cabin '76
OK – have my flak jacket on, head and vision protection in place – so here we go. In another thread, I sought advice regarding several rail stanchion base replacement/installation questions. As usual, I got rock solid advice and suggestions from TFers that I put to good use.
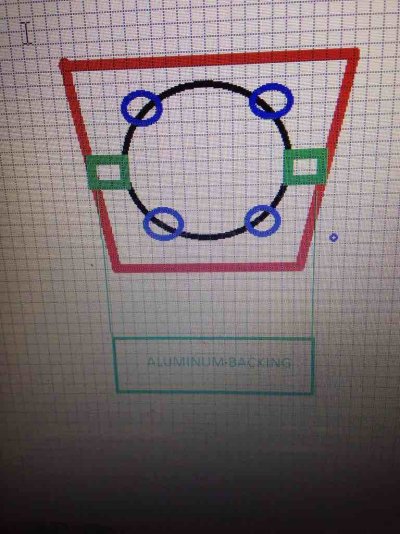
However, I have several leaking stanchion bases where I simply cannot access the lower surface of the deck to install proper (or any) backing plates. To be clear – yep, I have a sawzall and a fiberglass boat, so nothing is absolutely inaccessible. And I appreciate the fact that the correct means of fixing the problem is to remove a bunch of architectural surfacing and (in one case) a 6,000 BTU evaporating unit, obtain workable access to the position, install proper backing material underneath, and rebed the base. Then, put all the interior ripout back together.
I’m at the point where “mission creep” has sufficiently extended and complicated my original project to the point where I need to start putting stuff back together rather than conducting more ripout. With this background in mind, I’ve consulted several print, Inet, and personal sources and obtained several general schemes for conducting the more temporary, less rigorous repair. In general, it goes like this:
1. Remove the existing base and fasteners.
2. Drill out the old fastener penetrations to at least 2X the diameter of the fastener.
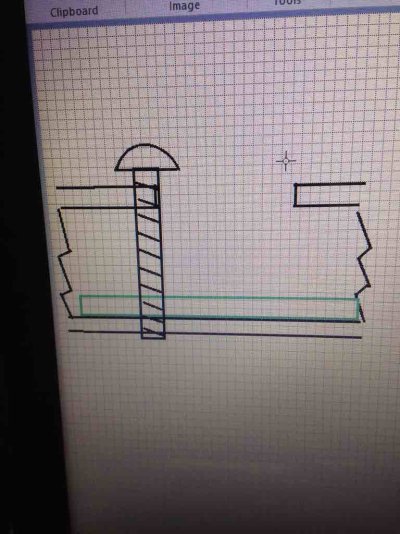
3. Using exotic tools like a bent nail chucked into a hand drill, muck out the drilled holes’ surrounding wood core material to insure all moisture damaged material is removed as well as establishing a “key” for the epoxy fill between the inner and outer fiberglass skin.
4. Saturate the exposed core with straight epoxy to seal and provide a competent bonding surface.
This is where things get really interesting. The condensed versions of “what to do next suggestions” are:
A. Fill the holes with thickened epoxy. After curing, drill the new fastener pilot hole and install new self-tapping screws with appropriate sealant.
B. Use thickened epoxy to fill the holes, butter the base, and install the base and fasteners onto/into the wet epoxy, somehow brace/clamp until cured. This essentially glues the base to the deck with the fastener threads embedded in the epoxy matrix.
C. Use thickened epoxy to fill the holes. After curing, create and tap the fastener holes in the epoxy. The theory is that a ¼-20 machine screw in tapped epoxy provides significantly more grip than a self-tapper. Variant is to use JB Weld to fill and drill/tap that.
D. Same as C, except install a correctly sized helicoil at each position. Then bolt the base down to the helicoil. The theory is that the size up of the helicoil threads give greater load capacity than the machine screw alone.
E. Same as C, except embed correctly sized coupling nuts in the thickened epoxy to serve as threaded receivers for the mounting bolts. Use hairspray as a release agent on the fastener threads for subsequent disassembly.
Any advice or informed opinion would be appreciated.


