First credit where due... Crusty Chief posted his DIY canvas project and was the inspiration for this thread. I though it deserved it's own thread vs hijacking his but maybe this will inspire more canvas project posts to show off your handy work. Maybe it's best to keep this one for tips, tricks, hints, etc.
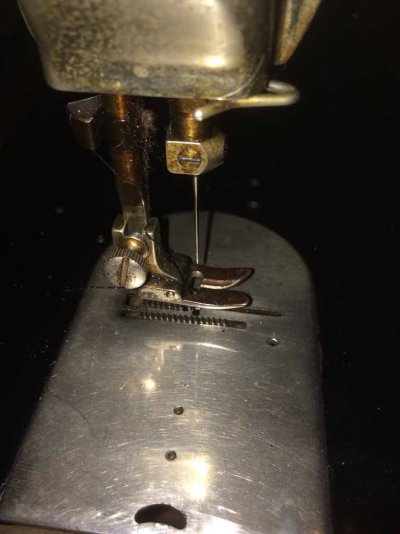
I started doing my own canvas work several boats ago with an old fashioned Singer machine - very heavy & built more rugged than modern machines. I quickly learned that it was OK for some simple repairs but I had trouble feeding the material uniformly. I learned that all of the commercial canvas machines were "walking foot" machines that moved the material positively and uniformly.
Machines
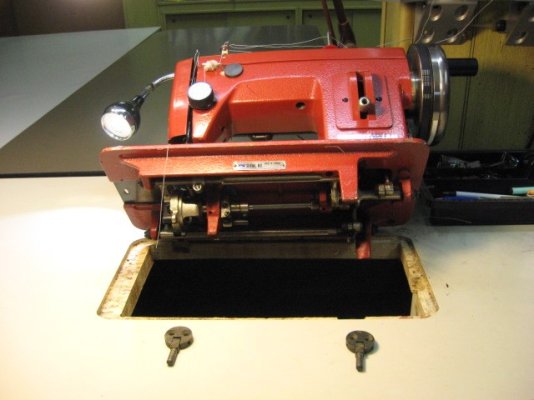
I purchased a hardly used Sailrite LS-1 (straight stitch) machine and have been using it for about 10 yrs. Straight stitch is adequate for almost all canvas work. The Zig-zag version LSZ-1 is nice but not essential IMHO - others may feel differently.
Many other heavy duty walking foot machines are out there and may have advantages over the ones mentioned. I only have experience w/ the LS-1
Accessories - highly recommended or essential - available from Sailrite or other sources
- Binding attachment for 3/4 edge binding
- Monster wheel - reduces the speed and increases the power
- Sturdy table for the machine - I inset my machine and recommend it - you can buy tables that accept machines
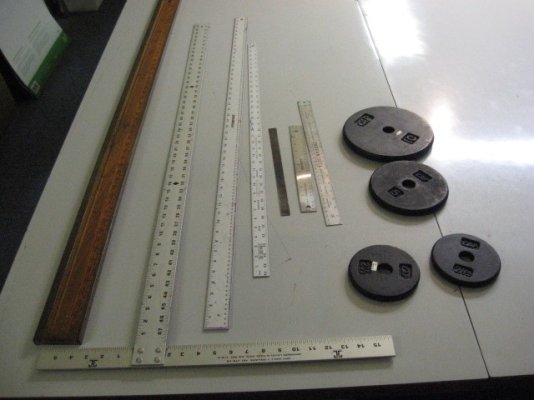
- Work tables - large & many - helpful to do layout and keep large work pieces flat while sewing - I used 4 flush doors and added folding table legs and Formica surfaces - w/ quick clasps to hold them all together. Another "outfeed" table keeps the material from falling off the back of the machine & pulling
Tools & Supplies
- Pres-N-Snap tool for snap installation - forget the hammer & punch approach - these are not inexpensive but do a professional job quickly. It will also do grommets with additional dies.
- Quick-Fit positioning system - allows you to temporarily locate pattern material or fabrics to snap studs on the boat.
- Spring clamps - to hold pattern mat'l & fabric to frames
- Seam tapes - double sided adhesive tape allows easy & positive positioning of zippers, vinyl window insets, ect
- hand held stapler - the kind retail clerks staple paper bags shut with - used to do temp fabric attachments, form darts in place to improve fit, etc
Tips
- Plastic sheet can be used to make templates which avoids waste with the actual fabric and enables a better job than fitting & cutting fabric in place
- Different color Sharpies allow easy marking of seam lines, cut lines (with additional seam allowance added later), zipper locations, window locations, etc
- See the Sailrite How To Videos for specific project help - many basic are free and pretty helpful getting started.
I will try to get a few photos of my work space setup and post them.
Lets keep this going - anyone w/ experience feel free to add your hints, tips, tricks, learnings, etc.


