larman
Senior Member
- Joined
- Nov 29, 2017
- Messages
- 232
- Location
- United States
- Vessel Name
- Livin The Dream
- Vessel Make
- Sea Ray
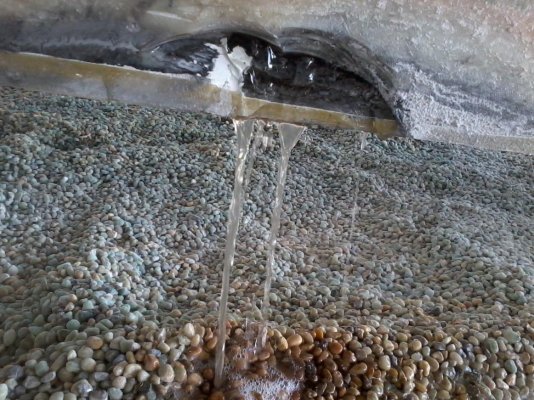
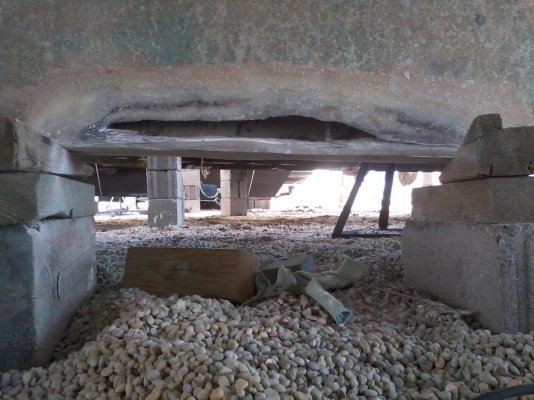
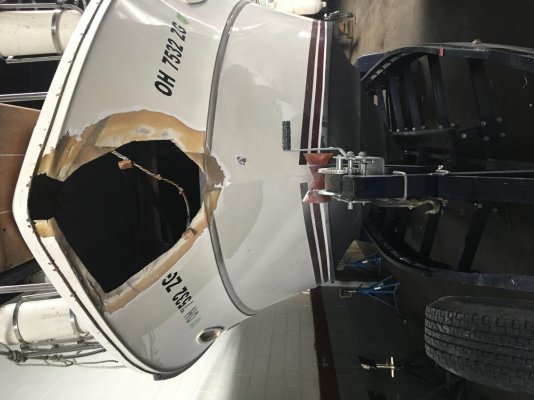
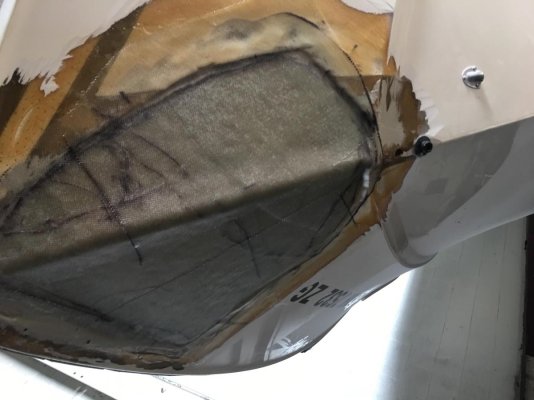
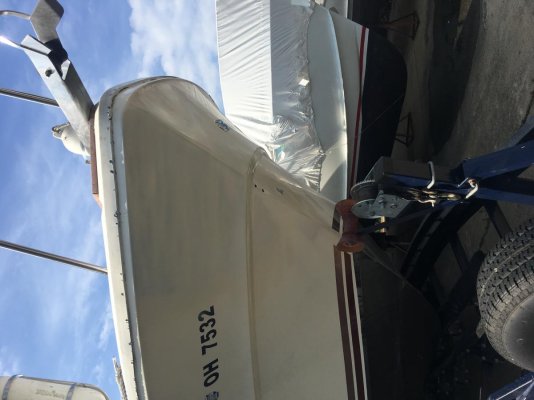
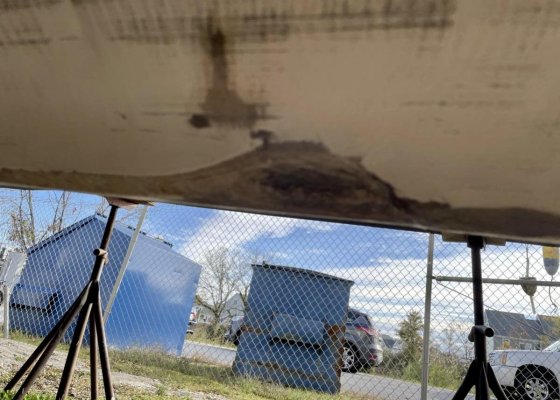
I damaged the keel of my boat when I hit a submerged rock. I sanded and grinder out the area and I am left with a 4 inch area that needs to be repaired. There is a hole about 1 inch by 3” deep that needs to be filled. The hole is not totally thru there is still somelayers of fiber left. Can I use thicken epoxy? What is the best way to do so?
Attachments
Last edited by a moderator: