Replacing a Norcold Refrigerator

The friendliest place on the web for anyone who enjoys boating.
If you have answers, please help by responding to the unanswered posts.

man7sell

Senior Member
Joined
Jul 10, 2019
Messages
162
Location
USA
Vessel Name
TBD
Vessel Make
Sundowner 30
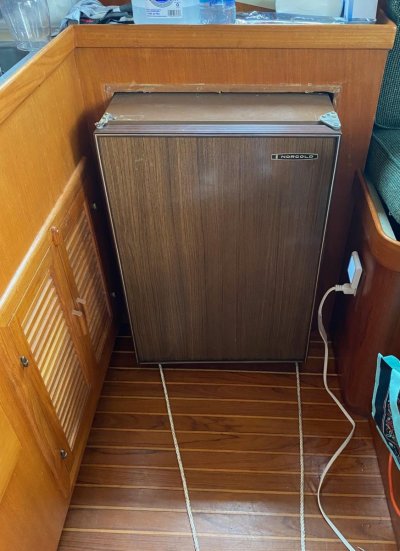
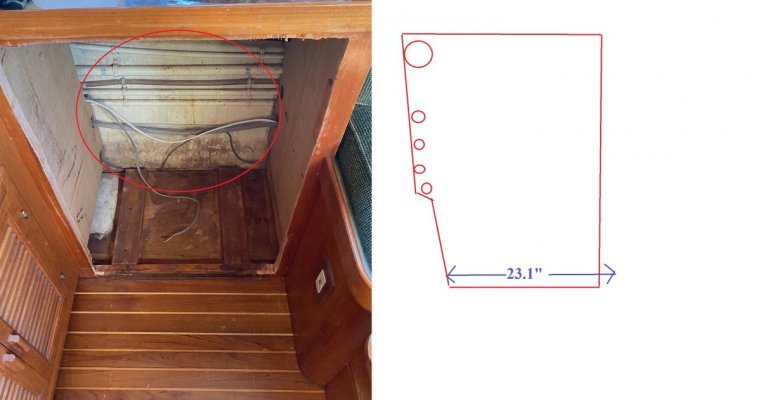
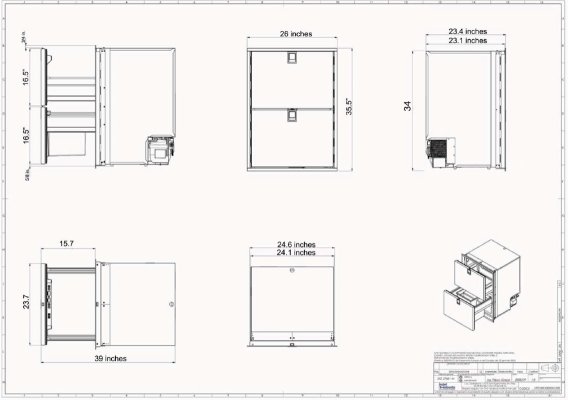
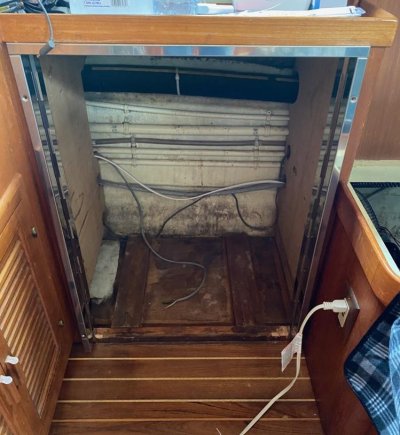
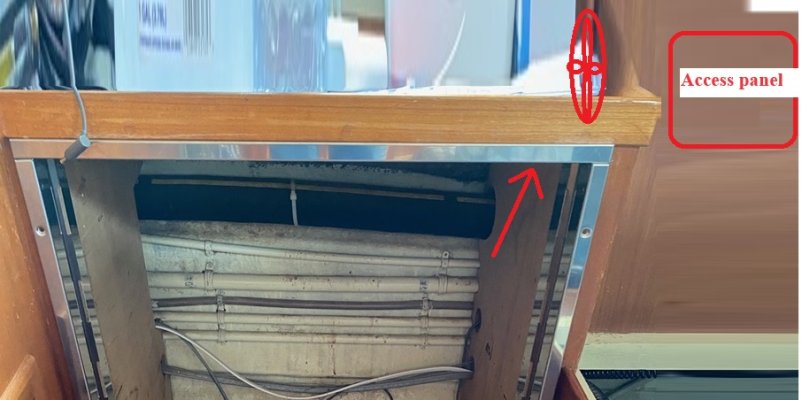
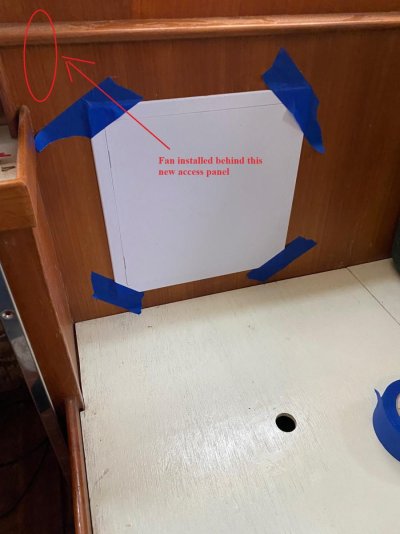
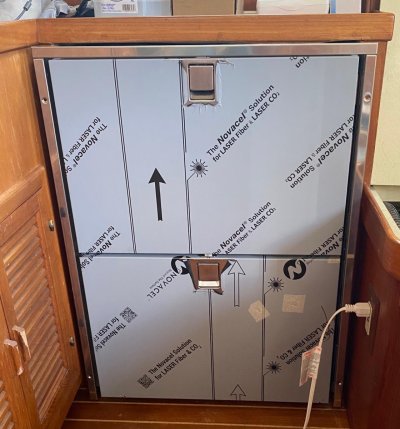
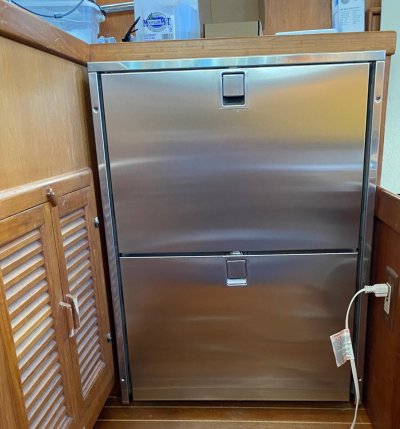
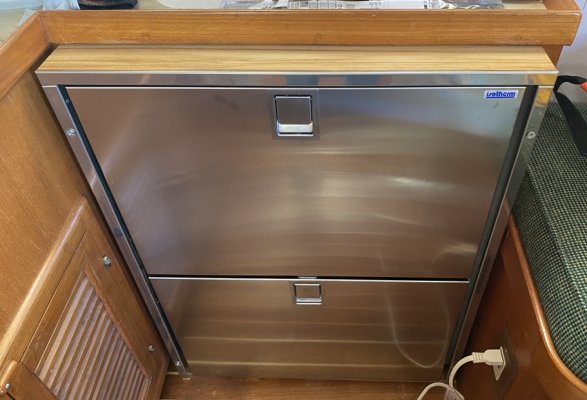
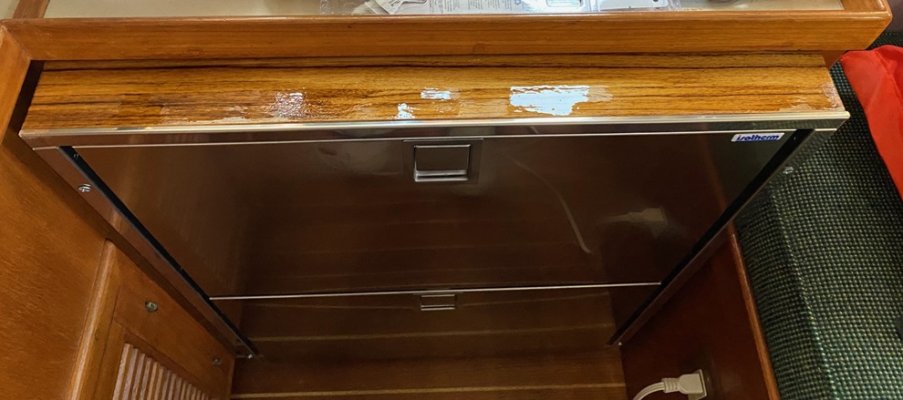
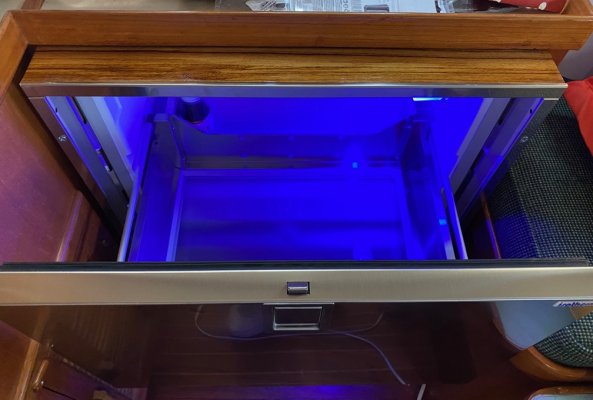
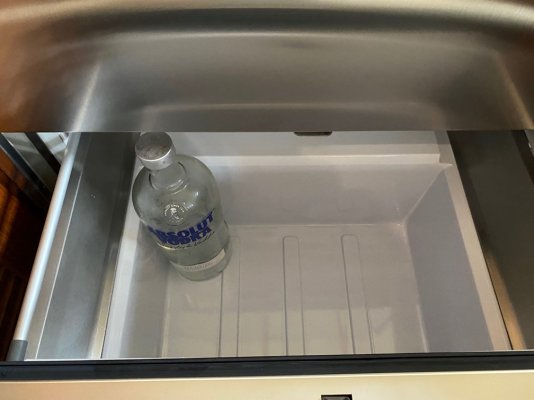
I am replacing the Norcold refrigerator with an Isotherm Refrigerator/freezer draw unit. My reason id because the Norcold is older, less efficient, and had a tiny freezer compartment.


Trying to remove the Norcold should be easy, right? :banghead: Well:


1. The trim (always wanting to save teak) I removed 2 of the plugs and could not find a screw behind them. Decided that they had to go anyway, I started to pry them off. Low and behold they were held in with finish nails. No screws behind the plugs. OK no problem.


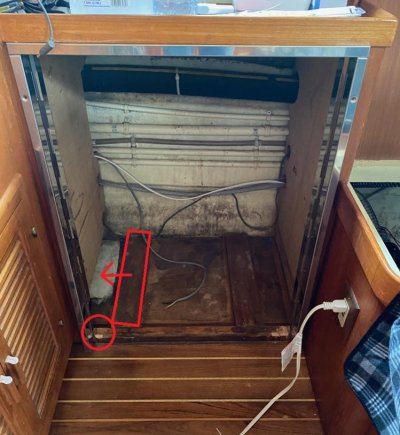
2. Reffer held in by two screws at the bottom. Unscrewed and it started to com out. Huff And Puff and here it is, one third out and stuck. :banghead:


Next will be a crow bar. was hoping to save the working Norcold, but we will see.:D
 

Attachments

  • Norcold.jpg
    Norcold.jpg
    139 KB · Views: 17
Good luck!

I faced a similar problem with a wine cooler (non-functional) that a previous owner installed extremely well. Braces cut to match the curves in the under flybridge, teak custom fit for the fridge itself...

Yeah, the wood swelled and locked that sucker in tight. Since it was non op, I ran the sawsall along the edge of the fridge. Tore up the fridge, but not the teak - :)

All the best!


Oh now there's a thought, the sawall and I have a long blade. Also the replacement fridge/freezer is larger.
 
Fridge removed and the hole enlarged. I had measured the depth of the Norcold being almost the same as the new Isotherm. However, the Norcold sat just a little proud if the trim and had a fat door. The Isotherm depth does not include a fat door, so this will need about a 3" trim all around. The area behind the fridge has a few pipes, electrical, and the exhaust hose, and of course the hull shape towards the bottom.


Some mill work will be needed.
 

Attachments

  • diamentions.jpg
    diamentions.jpg
    71.7 KB · Views: 25
  • isothermdiag.jpg
    isothermdiag.jpg
    111.9 KB · Views: 24
It's probably not obvious from the pictures, but how does the old and new units dissipate heat from the compressor? The efficiency of a built in refrigerator is hugely dependent on air circulation removing heat from the condenser. Certainly worth examining and improving while the unit is removed.

Ted


I am installing a reversible computer fan suck air into the galley area during winter, and out during summer
 
I am installing a reversible computer fan suck air into the galley area during winter, and out during summer

Not sure I understand the advantage to changing the flow during the summer. Removing the heat from the highest point in the enclosure year round gives the most optimal efficiency, as far as the refrigerator.

Ted
 
Put an intake vent down low and an exhaust vent up high. I like to add a fan either blowing cool air low into the cabinet or sucking hot air out of the top of the cabinet. I would not try reversing the fan since the hot air will be at the top of the cabinet all the time.
 
I have taken my Isotherm 130 out of my galley base cabinet few times to make repairs. The fridge needed a new thermostat. Isotherm was helpful in explaining how to access the old thermostat and install the new one. The Isotherm manual is very specific about air circulation. Cut holes in sides of cabinet as they recommend and you should be fine. Mine has no auxiliary fan in either hole. The fridge works well.
 
I have had cabinets with intake and outlet vents without any fan, with a fan works better. I use a 50 mAmp computer fan. I can run it for 24 hours and use just a bit more than an amp hour. Well worth it.
 
It took 3 of us to get it to and in the boat. It would only go through the pilot house door and then only just. Note to self if I ever do this again, remove the drawers....and trim.....


As I have this area open, maybe some cleanup and paint. Add the fan. And as the new fishfinder/plotter transducer has to be lead through this area, I have to wait to do the install. At least the AC cable reaches the existing socket, even though it comes from the opposite side than the old fridge.
 

Attachments

  • Isotherm02.jpg
    Isotherm02.jpg
    84 KB · Views: 16
External fan hookup

I have a new computer fan 12V DC and have found a good place to install it. It will be at the top of the cabinet behind the saloon sitting area back. In case of failure, I am going to add an access hole behind the seat back so that I can get easy access to it without removing the refrigerator.


Trying to find info on where to hook it up as the manual does not cover this. Options would be:


1. Hook it up the the 12V DC feed to the refrigerator (Fan will run continuously)


2. As above but with a switch so that it can be manually operated.


3. Hooked to the compressor fan so it comes on automatically when that fan comes on.


4. Or?
 

Attachments

  • Isotherm03.jpg
    Isotherm03.jpg
    148.1 KB · Views: 14
I wired mine to start in conjuction with the compressor, works great
 
On a previous boat we had a refer that had a fan terminal so I hooked the fan to that terminal and the fan ran whenever the compressor ran. On our current refer the manufacturer didn’t give a pin out for a fan so I hooked it up to run whenever 12 volts is on to the refer. The fan draws 50 mAmps so it uses just over an amp hour per day. Certainly worth it to me to help cool the refer. I probably save more than an amp hour per day by the refer running less time. Tradeoff, I would prefer to hook it to run just when the compressor is running but I can live with the minimal current draw all the time.
 
Number 1.

The negligible consumption of the fan will be insignificant. Sometimes it's better to keep it simple.

Ted
 
This is the fan I have used in a couple of boats. 50 mAmp draw and very quiet. Got it on Amazon.

Noctua NF-F12 PWM, Premium Quiet Fan, 4-Pin (120mm, Brown), compatible with Desktop
 
Fan installed behind this new access panel. The panel is behind the seat cushion so I used a very low profile panel designed for Sheetrock (Also very cheap)


Next, while I have the refrigerator out, I had to run the cable for the new depth/fish finder. So drill a hole in the transom, feed the cable through. Next get into the aft deck access and feed the cable through to the inner salon. (End of a fishing rod works well when you can't reach that far). Then run the cable behind the refrigerator hole to the under pilot house engine room. (Again with the fishing rod). Get into the engine room and feed the cable up to the steering station box that will get the new MFD.


OK back aches, time for a cocktail. Next visit is the hookup and install the refrigerator.
 

Attachments

  • refferinstal001.jpg
    refferinstal001.jpg
    94.5 KB · Views: 17
So as I was working with the 12V DC ready for the refrigerator, I hooked the fan to that junction. KISS
 
Trying to slide in the reffer yesterday, it would not go past the rubber feet. On closer inspection, the feet are in a different position than the last Norcold. So, I have to move the feet runners on the boat and move them as shown in the pic, also ramp the lower face so that they will slide up. All of this I had not considered. Back to the boat today to see if this will work. It's all a very tight fit and I cannot get to the side of the new refrigerator to help guide it in.
 

Attachments

  • Isotherm02.jpg
    Isotherm02.jpg
    85.2 KB · Views: 15
  • refferinstall002.jpg
    refferinstall002.jpg
    99.2 KB · Views: 17
  • refferinstall003.jpg
    refferinstall003.jpg
    106.9 KB · Views: 15
Finally in place. Now I need some trim teak to go around where it sits proud.
 

Attachments

  • Isotherm04.jpg
    Isotherm04.jpg
    150.5 KB · Views: 19
Works great

And here it is, now waiting for my teak boards to arrive to finish it off. Working great and my vodka bottle can stand up in the freezer section, awesome.
 

Attachments

  • Isotherm05.jpg
    Isotherm05.jpg
    137.9 KB · Views: 16
Wood trimmed out. Now, where did I put those varnish brushes?????
 

Attachments

  • Isotherm06.jpg
    Isotherm06.jpg
    176.4 KB · Views: 16
Up and running

Finished. ready to fill for adventures.
 

Attachments

  • Isotherm07.jpg
    Isotherm07.jpg
    166.2 KB · Views: 18
  • Isotherm09.jpg
    Isotherm09.jpg
    193 KB · Views: 14
  • Isotherm10.jpg
    Isotherm10.jpg
    155.7 KB · Views: 17
Back
Top Bottom