YEs!
For sure!
Fix it ASAP! and do it right. You don't want to get to a situation where you have to rebuild the flybridge!
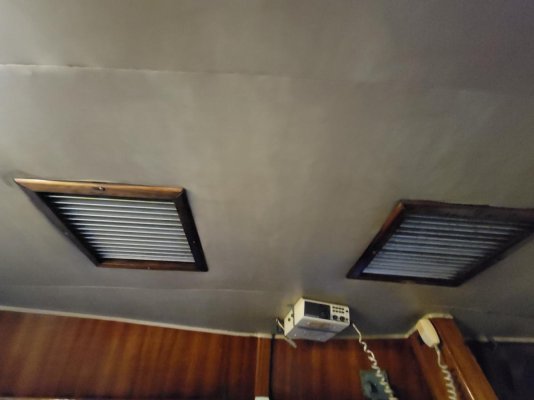
Since we bought our project boat in 2021, there was always these annoying leaks into the cabin from above. We had it in the water in 2022 but every time it rained, we had bucket, pots and tarps stretched out in the main cabin to catch the drips (and there were others we didn’t see but saw the results in the form of puddles here and there.)
This spring I had the idea of removing the brow and giving the entire flybidge a fresh coat of FG cloth and gelcoat. "Should be easy"....
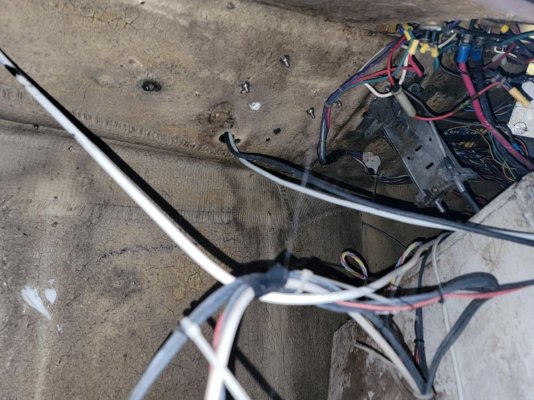
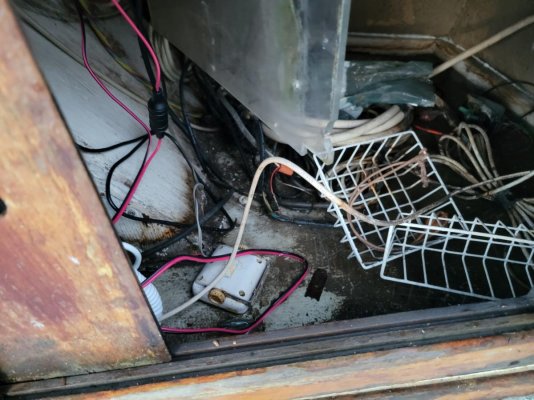
Till I took the brow off and discovered some rot holes. Took out the captain’s chairs and found more holes (and rot!!). Let me cut out the rot.... Then I find more rot.....Next thing I knew I had the entire flybridge off and rebuilt the whole thing. Took me two months. Tapered beams, 2 layers of 10mm ply, each layer offset by 2' so that there were NO overlapping seams between first and second layer. first layer glued and screwed to the beams, second layer glued and screwed to the first. skim coat, 2 layers of FG cloth, 2 layers of skim coat and then gelcoat (only one coat this year- ran out of time because I wanted to LAUNCH!!
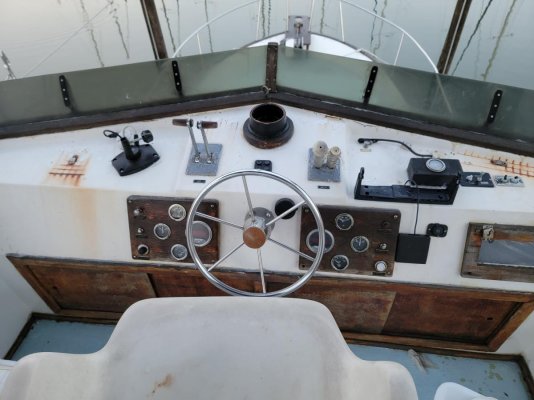
Since rebuilding, I have not put a SINGLE hole in the new flybridge deck.
Everything is bonded to the deck. No holes, no screws. Main cabin has been bone-dry ever since. Worth it but I would have preferred not to have gone through all that hassle "if only" the previous owners had done some "PROPER" preventative maintenance on it! A stitch in time saves nine!