Hi all,
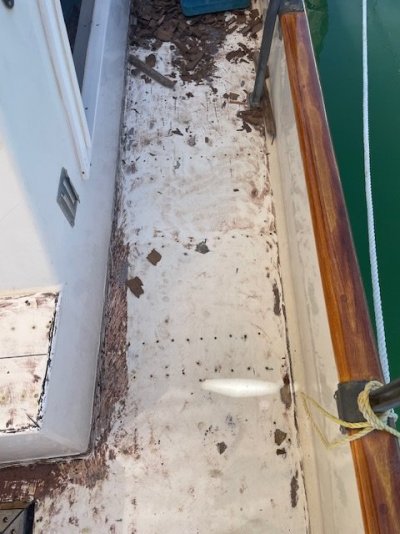
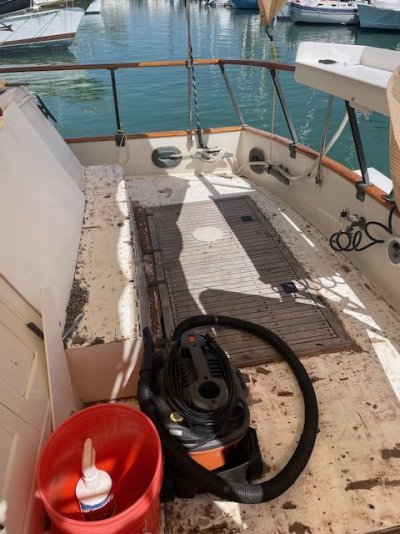
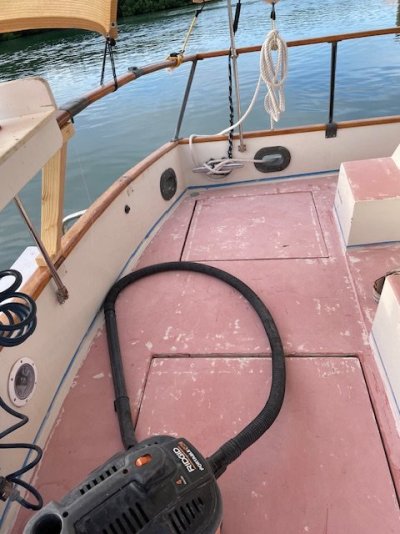
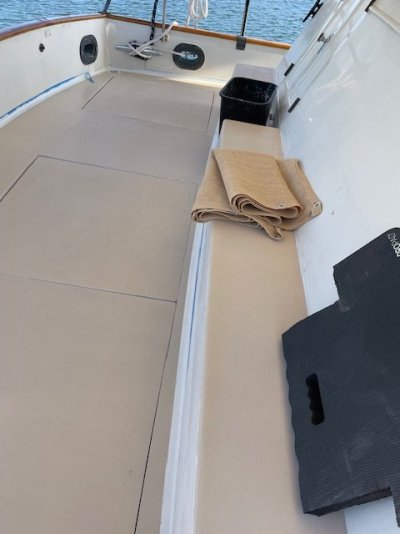
I have a worn out teak deck on a 1995 GrandBanks 42 I'll be replacing with non skid. Would love to replace with teak but I haven't won the lottery recently so going with non skid.
I'm hiring out placing the new deck but am planning on removing the old deck myself. I'm curious as to what kind of substrate is under the teak planks and how strongly adhered they are after the screws have been removed. I've watched a lot of youtube vids and everyone seems to have different strategies on teak removal. Any advice will be well appreciated.
Thanks
Jon


")
