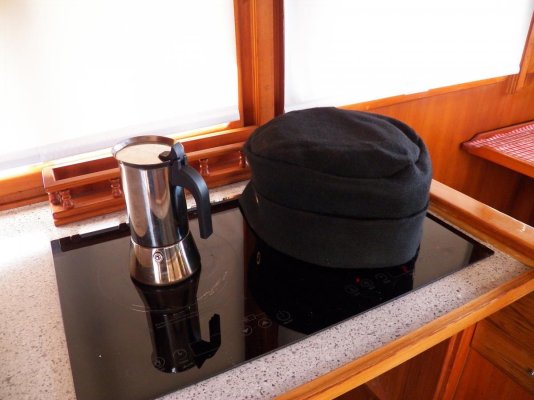
I am writing this first thing in the morning without the benefit of a complete cup of coffee.
Double wall and triple wall stove smoke pipe all have two things in common, air space and loosely pack insulation between the walls. IF you install a stove for heating, the backboard has insulators and space between the sheet metal and the flammable wall behind and to the sides of the stove. Two things, there is an air gap between sheet metal and the flammable wall behind the sheet metal and the sheet metal will reflect the heat into the unheated room.
Soooo, by installing fan, directing the air flow between sheet metal and the flammable wall behind it, you are reducing the temp of the sheet metal and affording protection to the flammable wall behind the sheet metal.
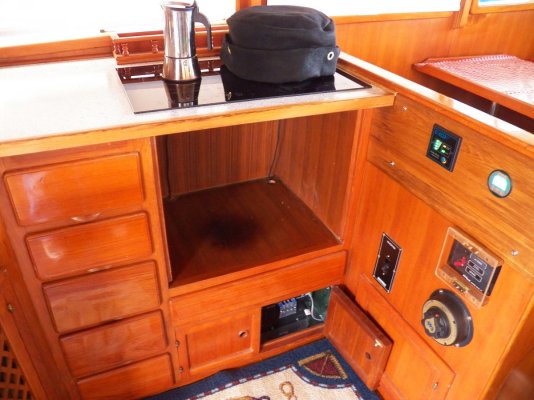
Sooooo, IMO installing sheet metal under and around the oven will do little to protect the flammable surface behind the sheet metal without and air gap between the sheet metal. It may in fact increase the heat against flammable surface by spreading the heat to the entire flammable surface.
I could go on and talk about wood stove installations and a 4 inch air gap around the 3way microwave oven, to draw parallels, but I wont.
I think you get my drift.
Briefly, if you put a piece of sheet metal on a grill's surface both sides will have the same temp.
What to do? Rely upon the manufacturers installation instruction putting faith in the boat builder that they will follow the instructions.
Now, I ask you, did this make sense or must I rethink this after I finish my morning coffee?