Impeller replacement

The friendliest place on the web for anyone who enjoys boating.
If you have answers, please help by responding to the unanswered posts.
I replaced my screws with thumbscrews. They were a little hard to locate the right size and I bought a package. Extras are duct taped to the bulkhead near the pump. That way, if I drop a screw I can look for it later. I used an old paper gasket as a template to make extra gaskets. I cut them out of a heavy paper grocery bag. It isn't some special gasket paper, most any paper the right thickness will do. I wipe a little crankcase oil on the gasket and the splines.
 
I wipe a little crankcase oil on the gasket and the splines.


I use a little soap as a lubricant on the splines since it is ending up in the water. If I see soap suds out the transom I know the impeller is working...
 
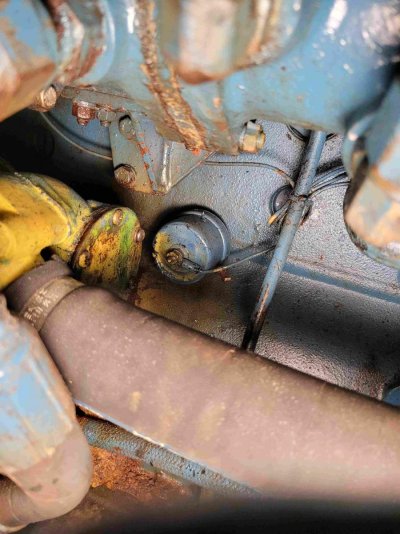
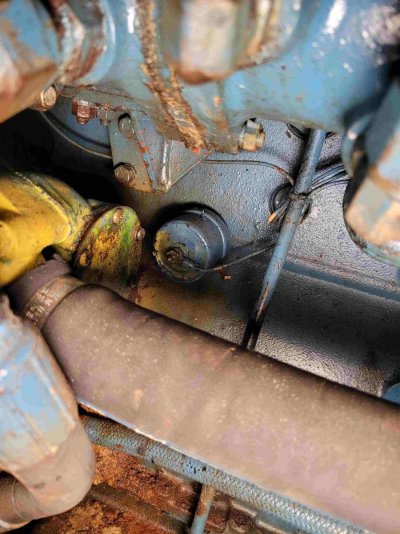
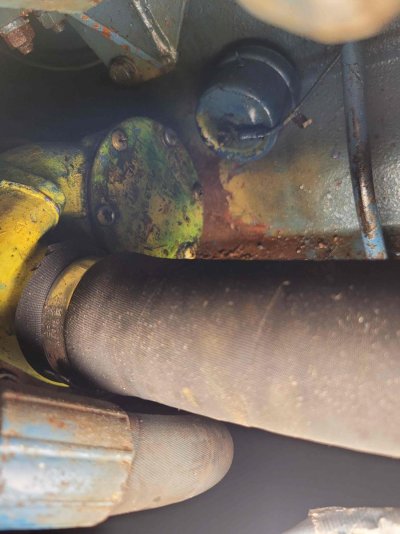
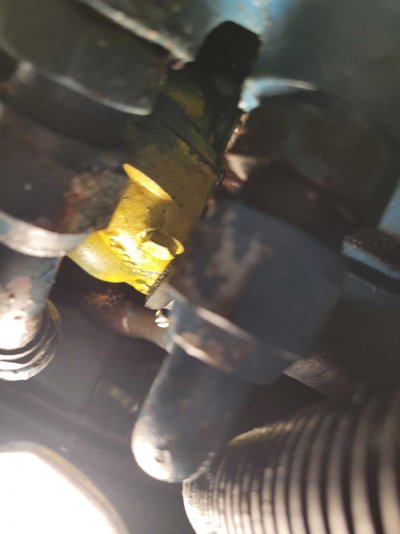
Today I sprayed pb blaster on the screws. When I was there one of the mobile mechanics was there and he looked at it and said that the water pump had to be disassembled in order to get the new impeller back on. He said you need a lot of leverage to get it on. I could see maybe having to remove the water hose but not the assembly.

And there was a critter that had to be chased of my neighbors boat. I hate those things.
 

Attachments

  • Compress_20230922_143002_2963.jpg
    Compress_20230922_143002_2963.jpg
    169.7 KB · Views: 31
  • Compress_20230922_143001_1480.jpg
    Compress_20230922_143001_1480.jpg
    185.7 KB · Views: 29
  • Compress_20230922_143002_2178.jpg
    Compress_20230922_143002_2178.jpg
    117.2 KB · Views: 28
  • Compress_20230922_143000_0317.jpg
    Compress_20230922_143000_0317.jpg
    209.6 KB · Views: 25
With the impellertool.com you don’t need any leverage to get the impeller in, it just slides in.
 
On my Perkins, needle nose pliers work well. Just grab an impeller blade and pull. Also replaced the screws with SS Allen head machine screws for easy removal. Make sure you inspect for corrosion of the screws. DO NOT use brass.
 
That may be an old website. Unless it's my phone, no impellers or tools that I could see

Maybe, I just tried it and it didn’t work. Maybe out of business, too bad because it was a great tool.
 
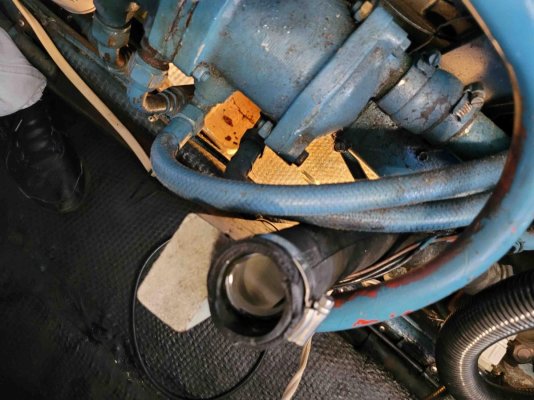
Off to WM. I dropped a cover screw. I removed the raw water hose. It’s a blind and tight fit for this work. Updates to follow
 
In case is hasn’t been mentioned, on my Cummins 6BT engines, the Sherwood pumps are easily removed; just 2 hose clamps and a couple of bolts. Working on a bench (or galley table) makes the job easy.
 
I use silicone grease to hold either the O ring or gasket in place while I am assembling it.


Agreed. Also use it liberally on the impeller and in the pump.


I use a hose clamp rather than wire ties to compress the vanes to help get it started into the hole. You might use the hose clamp to get it compressed and then use a couple of wire ties, since they're smaller, but I've never found it necessary.


On small impellers (gensets, small engines) I use either two screwdrivers or two needle nose pliers. On big impellers -- the Cat 3406 in Fintry or the Lugger 1066H (Deere block) in Morning Light -- the Jabsco tool is essential. I like the idea (above) of replacing the Tee screw with a couple of nuts on threaded rod -- or, you could probably get a hex head machine screw the right length from Mcmaster.com.


As noted above, Allen head screws for the cover make it easier, particularly if you use a ball head tee handled wrench -- the screws will stay on the ball both removing and replacing.


Jim


Sweetwater -- Swan 57 sloop on which we circumnavigated 1995-98
Fintry -- x Royal Navy Fleet Tender -- owned 2003-2022 18,000 miles including trans-Atlantic The Fleet Tender Fintry
Morning Light -- Webbers Cove 42 single screw trawler 2021- 23
?? Going back to sailing after Morning Light is sold.
 
No leaks yet. Trying to get the engine up to temp, not sure any other way to check. It's been running for 10 minutes at 1100 rpm, temp is about 130 f.
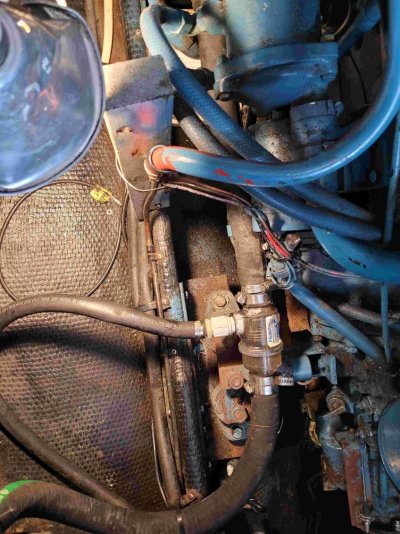
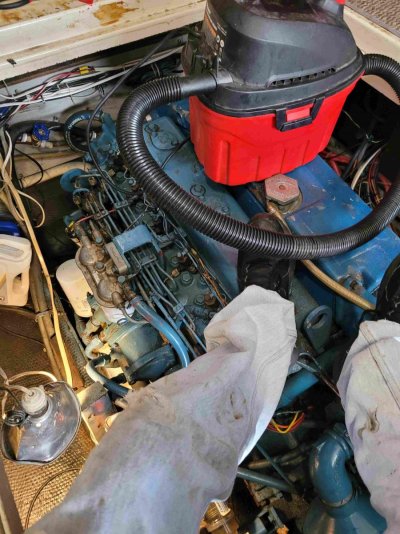
Had the shopvac ready for leaks. None so far. You can see the raw water inlet poking in the air. I found out my seacock doesn't shut off

Update. Just over 20 minutes and running about 165° f. I think it's working
 

Attachments

  • Compress_20230925_150554_4547.jpg
    Compress_20230925_150554_4547.jpg
    72.7 KB · Views: 21
  • Compress_20230925_150555_5167.jpg
    Compress_20230925_150555_5167.jpg
    144.8 KB · Views: 18
  • Compress_20230925_150553_3390.jpg
    Compress_20230925_150553_3390.jpg
    85.3 KB · Views: 16
  • Compress_20230925_150551_1806.jpg
    Compress_20230925_150551_1806.jpg
    197.3 KB · Views: 19
  • Compress_20230925_150550_0430.jpg
    Compress_20230925_150550_0430.jpg
    192.6 KB · Views: 21
  • Compress_20230925_150549_9173.jpg
    Compress_20230925_150549_9173.jpg
    78.7 KB · Views: 18
Last edited:
The greatest tip I got and it works fantastic. After taking the plate off, spray some wd-40 in the impeller housing, turn the key to the engine (don’t start it, just let the impeller turn), the wd-40 allows the impeller to come right out. BTW…also use an impeller puller. They reason I paid for one is I have two 3208 caterpillars.
 
The greatest tip I got and it works fantastic. After taking the plate off, spray some wd-40 in the impeller housing, turn the key to the engine (don’t start it, just let the impeller turn), the wd-40 allows the impeller to come right out. BTW…also use an impeller puller. They reason I paid for one is I have two 3208 caterpillars.

Did that twice. I'm buying an impeller puller for the next time. It was a bear to remove and took about 15 minutes. Mine is in a very tight area
 
I used the advice of many. Thank you for all your knowledge and advice.

The screws on the cover plate came off smoothly.

Had to remove raw water line as it was in the way. Turned off seacock but copious amounts of water still came out, non stop. Note: Seacock service

Sprayed wd-40 liberally on and around impeller and bumped engine twice, each time spraying wd-40. Still took a lot of effort to remove using locking and non locking needlenose pliers.

Put new impeller in very hot tap water for about 20 minutes.

Secured new impeller with tie wraps

Smeared the jabsco pump lube in the pump

Smeared lots of dawn dishsoap on impeller

Inserting impeller wasn't hard after finally getting it to find the splines. I ended up lightly tapping the impeller with small rubber mallet

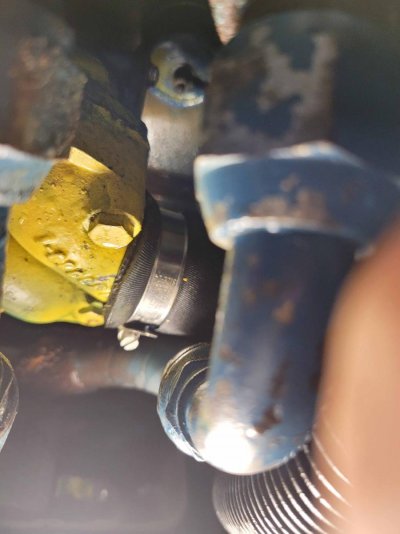
Used silicone grease (thanks Dave)to hold gasket in place while I blindly tried to put screws in cover. Used the hot tapwater to remove old paper gasket.

Dropped screw into the abyss

Went to West Marine for new screws and they actually had some but they were Phillips heads. Want to order thumbscrews for replacement.

Put it together, reattached the raw water and have had the engine at 1100-1200rpms now over 30 minutes and temp is holding at 165° f.
 
Last edited:
I have the Speedseal with not enough room for a puller. The right angle needle nose pliers work well, just keep jiggling the old impeller till it comes out. Then smear Vaseline in the in the impeller pump body and work it in with the palm of your hand. Run the engine, check for leaks, good to go.
 
I use the advice of many. Thank you for all your knowledge and advice.

...Had to remove raw water line as it was in the way. Turned off seacock butt copious amounts of water still came out, non stop. Note: Seacock service

...Dropped screw into the abyss...

I so enjoyed that recap. Ah yes, every simple job turns into more jobs, and no matter how careful I am, the bilge continues to eat small parts, never to be found again.
 
Always lots of great advice, as usual. Have to admit I’d not attempted to do an impeller change until last year myself, but felt it was an essential skill because of being caught out underway or at a remote anchorage, and always carry at least a spare!
I went with Twisted Tree’s advice and carry new spares, I don’t want to have to do this more than once, because you would doubt the service life of a used one if replaced due to a an unforeseen failure.
Having Cat 3208NA’s, it far easier to disconnect the water hoses and unbolt the three engine mounted bolts and remove them from the engines, which takes just a few minutes.
Impeller removal was with two screw drivers, unfortunately, because I didn’t like to lever against the soft bronze pump housing. I used a couple of pieces of cut up plastic bottle to prevent leverage damage, but will invest in a removal tool.
Because the pumps were off the engines, and once lubed, impellers just slid straight in with a slight hand twist, a lanolin grease smear on the cover/wear plate to hold the gasket in place and provide some lube on the plate itself, then re-assemble.

Next job, attempt changing the mechanical seals inside the pumps, just starting to drip after three years and 300 hours.
 
Do you have information on the o ring from Fluid Seal ? Like a part number or measurements.
Thanks
Mike Middleton
 
If you are getting water out the exhaust it's working.

Water out, no leaks, done!
 
One quick test I like to do is to just feel the cover plate after running about half a minute. If it's cold or at sea temperature, it's pumping. If it gets hot, it's not.
 
I have an optional fresh water flush. It’s called FlushPro and its basically a clear check valve. When the engine was running I could see the spring pulsing, which I assume is that the water is flowing. Also I ran for over 40 minutes total and the temp was around 165f.
I'm assuming all is good. I should have put a lot of Dawn in the pump before closing it up then I would have seen foam. As always, hindsight is 20/20
 
In my Perkins / Jabsco raw water pumps, the thin delicate gasket is easily damaged or ruined by removing the cover plate. Even if the impeller is found to be intact, I now have to replace the gasket. I can buy complete replacement kits, but I only need the gasket if I decide not to replace the impeller.

I have been told how to make my own gasket from stock material. I tried that once, but could not reproduce the tight seal typical of the OEM gasket. So....I was wondering what other TF members do for locating (or making) gaskets for Perkins /Jabsco raw water pumps.

If I had a ready source of gaskets, I would inspect the impellers more often (preventative maintenance).

Thanks
 
Personally, I don't generally inspect impellers. For my engines, I've determined that with our current usage, they come out in respectable condition after 2 years, so at the 2 year mark they get replaced. Given heavier use, I'd likely replace them at 300 hours and determine based on condition if I should wait longer the next time. It's enough of a pain to get a look at the impellers on my engines that I might as well just replace while I'm in there.
 
After a few days sitting I went today and have no leaks
Put Ospho on some of the rust and am calling this first impeller change a success. Learned a lot
 
Personally, I don't generally inspect impellers. For my engines, I've determined that with our current usage, they come out in respectable condition after 2 years, so at the 2 year mark they get replaced. Given heavier use, I'd likely replace them at 300 hours and determine based on condition if I should wait longer the next time. It's enough of a pain to get a look at the impellers on my engines that I might as well just replace while I'm in there.


I am at my 2 year mark and the impeller I fought with to remove looked in very good shape. No cracks and still very pliable.
 
I am about to do this same procedure on my two Perkins T6.354 motors. I love all the great tips, especially the vacuum trick to get all the pieces.
 
Back
Top Bottom