rgano
Guru
- Joined
- Oct 8, 2007
- Messages
- 5,049
- Location
- Panama City area
- Vessel Name
- FROLIC
- Vessel Make
- Mainship 30 Pilot II since 2015. GB-42 1986-2015. Former Unlimited Tonnage Master
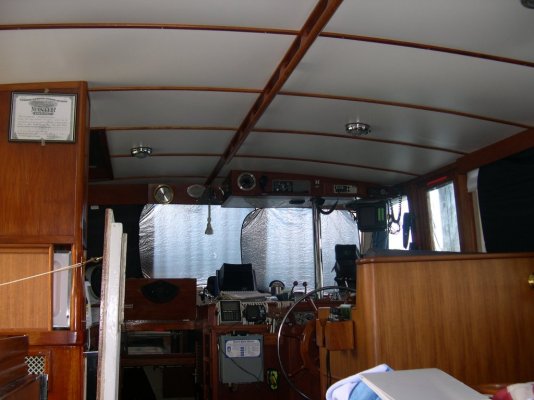
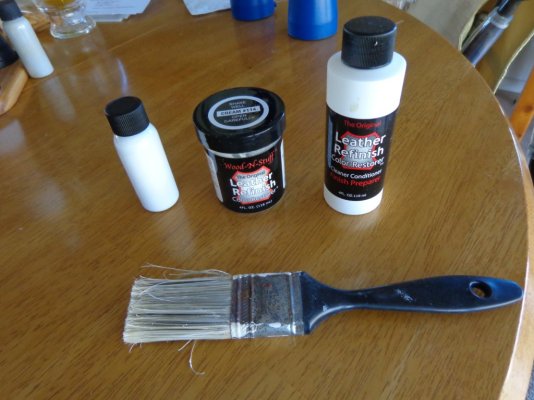
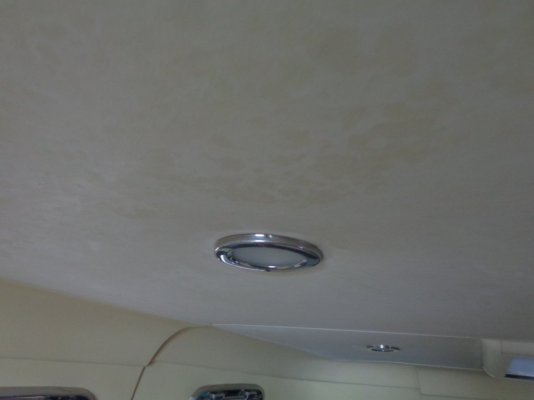
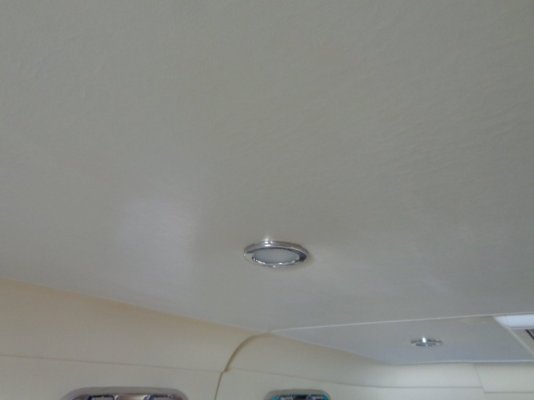
Here are photos of before and after I used a product from Wood-n-Stuff to recoat my splotchy, 19-year-old cabin headliner. Their "Cream" was a perfect match for my boat. 12 ounces of product were needed to coat it twice for best look. Rather than the round sponge applicators the W-n-S owner sent along and recommended or the disintegrating foam brushes from Home Deposit, I found a 1.5" wide bristle brush to be exceedingly faster and less messy. Water cleanup made this product quite easy to handle.
")