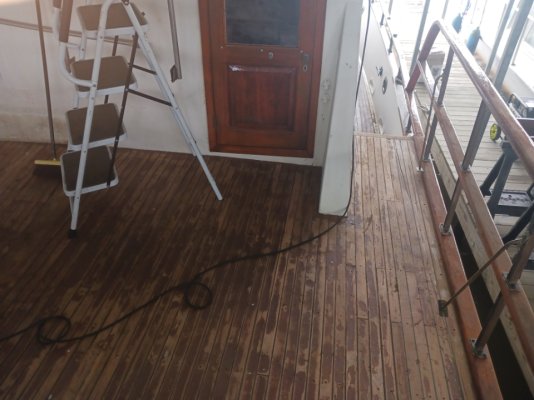
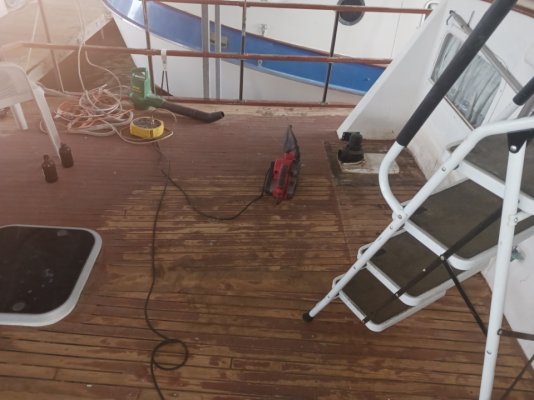
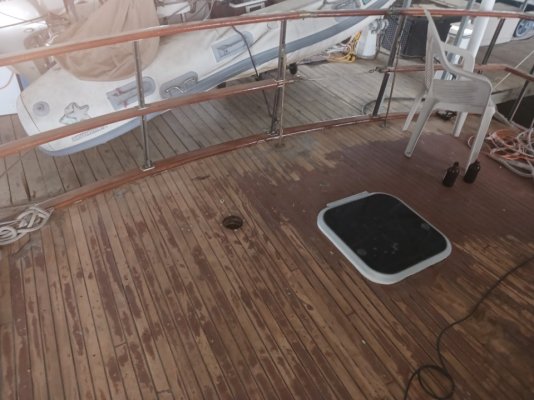
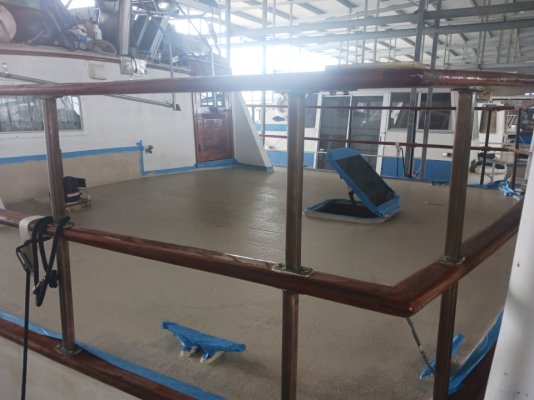
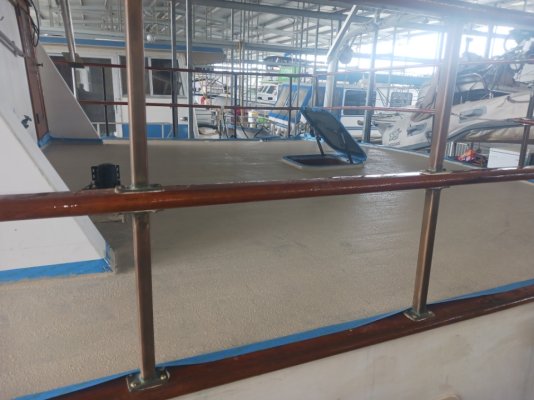
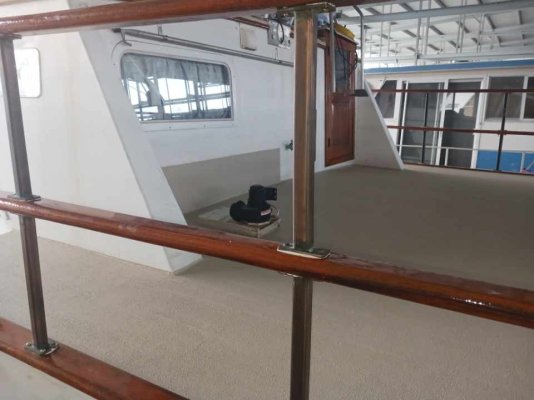
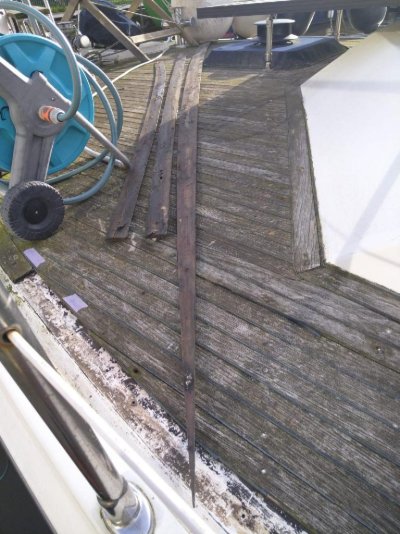
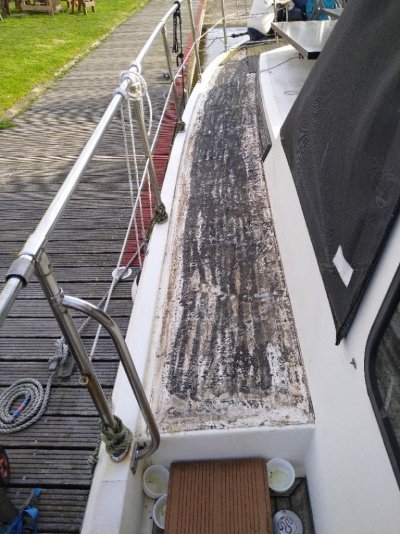
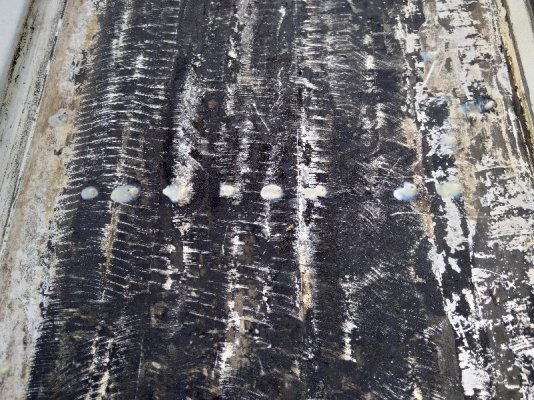
I just purchased a 1995 GB Classic. The teak decks are worn to the point where screws are showing and the caulk is pulling out of the grooves. I had a guy take a look and he said the teak has enough thickness remaining to allow for a full restoration of the deck. The deck would be sanded, screws countersunk deeper, bungs re-plugged, caulk channels re-routed and filled, and then a final sanding.
Two questions:
1. Has anyone had experience with this process.
2. What is the original thickness of the teak deck planks.
Many thanks!
Two questions:
1. Has anyone had experience with this process.
2. What is the original thickness of the teak deck planks.
Many thanks!
")