menzies
Guru
Yet another stay-at-home project.
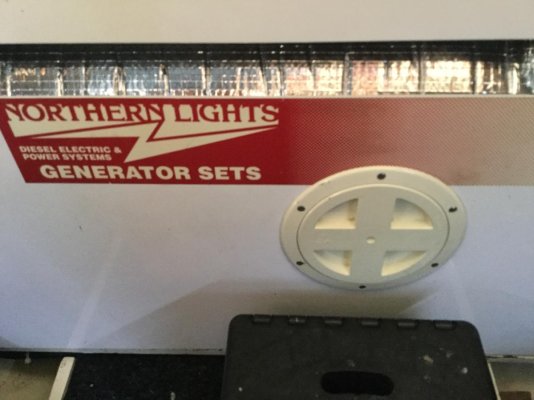
I am going to rip off all the old foam from my genny sound shield (since most of it has been flying around the ER for a while anyway!).
Any recommendations as to what works the best?
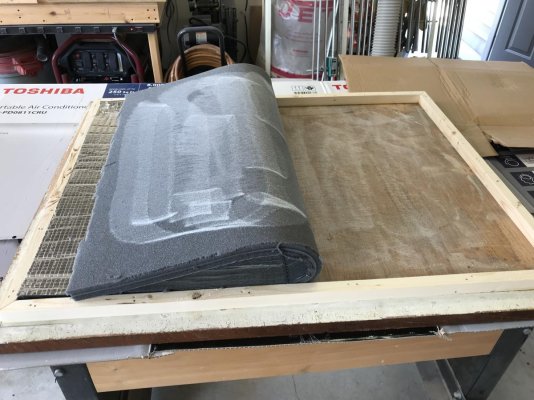
I did find this on Amazon. Thoughts?
https://www.amazon.com/Design-Engin...rds=engine+sound+shield&qid=1586476062&sr=8-9
I am going to rip off all the old foam from my genny sound shield (since most of it has been flying around the ER for a while anyway!).
Any recommendations as to what works the best?
I did find this on Amazon. Thoughts?
https://www.amazon.com/Design-Engin...rds=engine+sound+shield&qid=1586476062&sr=8-9