FWT
Guru
- Joined
- Dec 10, 2020
- Messages
- 1,590
- Vessel Name
- Resilient
- Vessel Make
- Helmsman Trawlers 38E
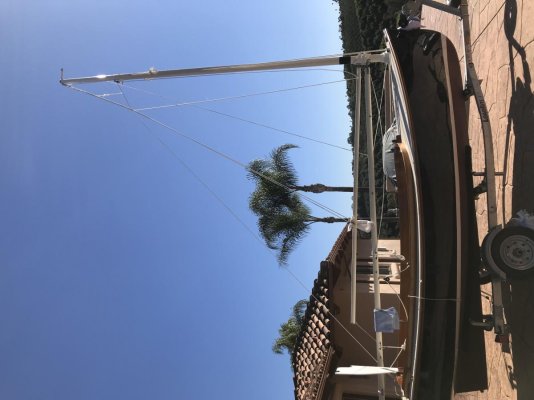
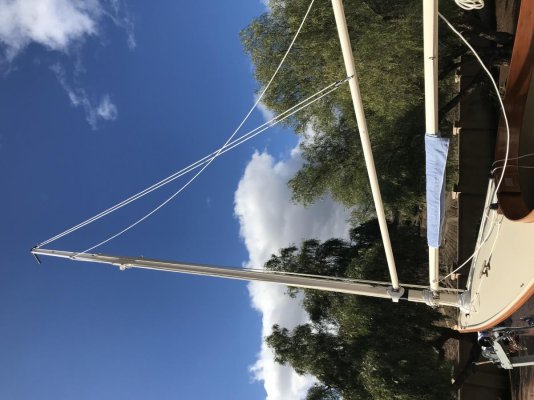
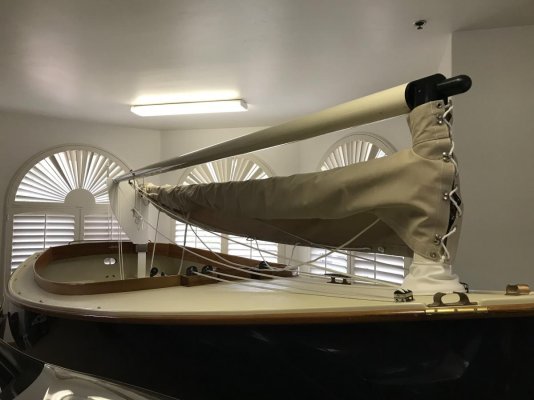
Your comment on supporting the 22' mast is right on point. First time I "attempted" to lift it into its vertical position (per the video) I could not do it and thought "time to sell and buy another trawler". But I could not give up this easy. While at the yard I had another person up on the forward deck assist me and was able to raise and lower the mast. Conclusions include; 1) I'm a little short at 5' 4" which hurts my leverage. 2) I'm not as strong as I was at 20 years old and need to work on my upper body strength.
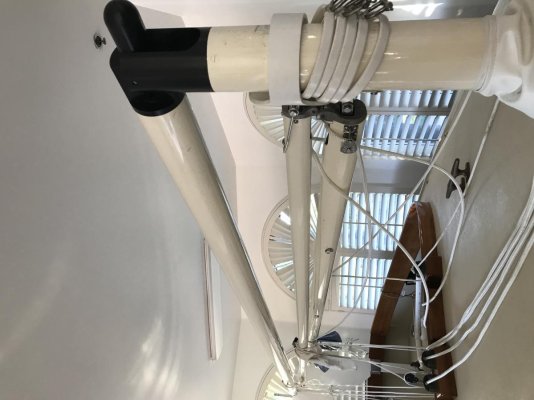
For assistance and reduce risk of killing myself I built a cradle (PVC) to hold the mast at the 45-degree position while I step up onto the bow deck. I have not tested it yet and not sure if 45-degrees is the right angle but I can adjust it. I'm also considering second support closer to 75-degrees for when I start to lower the mast. Both can be built in sections and fit the pick-up truck so not concerned with storage.
Returning to trailing a boat is definitely a challenge and adding the mast (not to mention the sails still in the bag) is making me wonder how this will all work out. That new N52 is starting to look good.
John
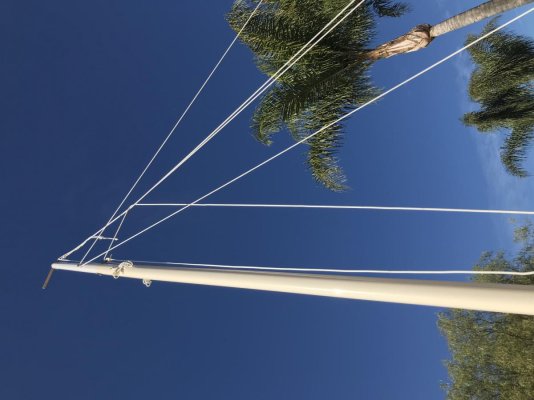
As an engineer you can appreciate this. The forces needed to raise the mast are the least at the top of the mast, and rise fast as you approach the mast step (base). But as the mast rises, the forces lessen so that it takes less as you proceed. So one basic principle is you lift while standing as far to the stern as you can, lift to maybe shoulder height and walk forward with it and lifting as you go.
But you do need a margin of safety. Doing this to the edge of your ability is asking for trouble.
You think raising it is tough? When dropping it the momentum of that weight coming down on you is rough. While walking. Backward.
")