fryedaze
Guru
- Joined
- Sep 4, 2011
- Messages
- 1,737
- Location
- USA
- Vessel Name
- Fryedaze
- Vessel Make
- MC 42 (Overseas Co) Monk 42
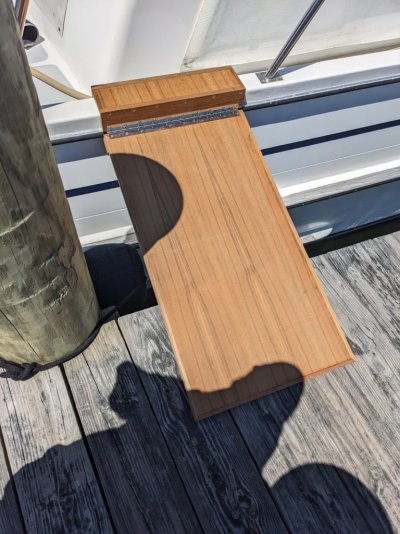
Our new slip has pilings that are 15-18" in diameter. They keep the boat away from the dock decking. At high tides it makes getting on and off the boat a challenge.
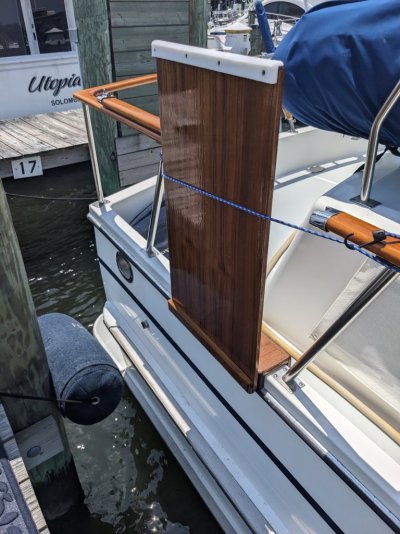
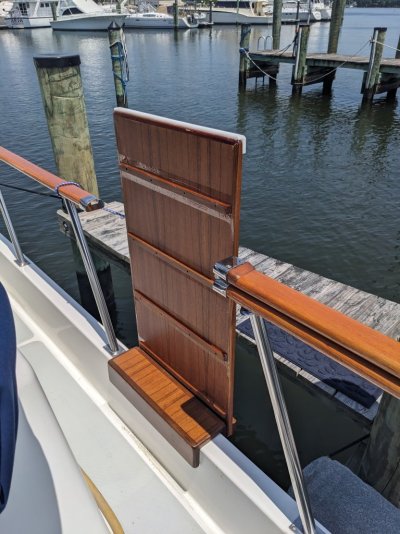
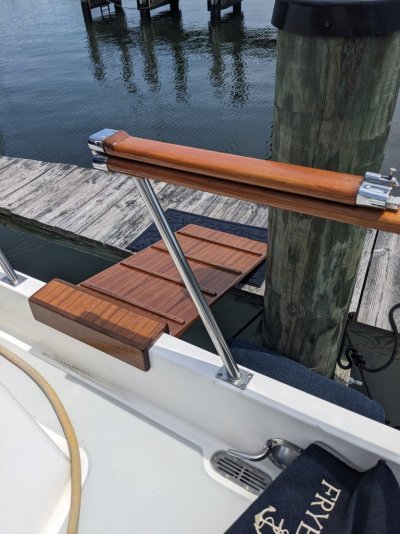
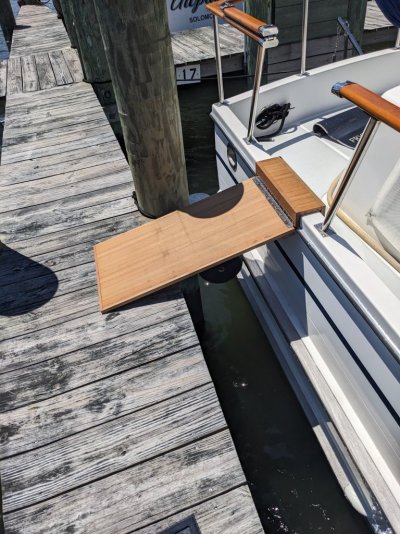
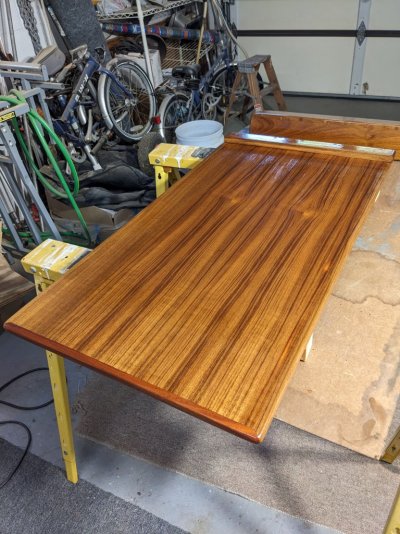
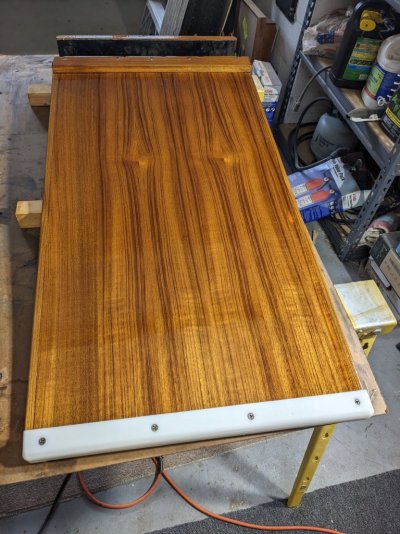
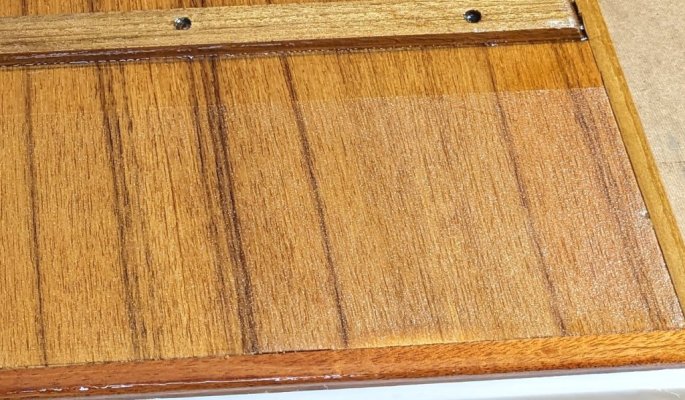
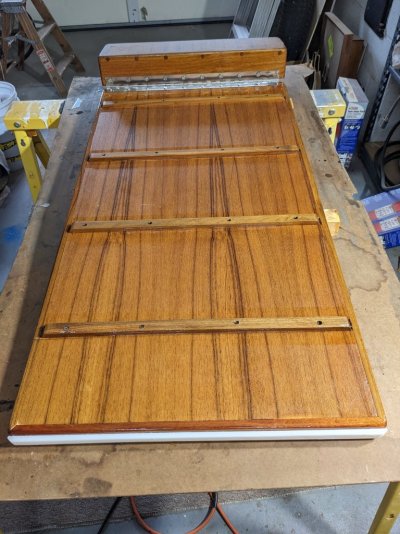
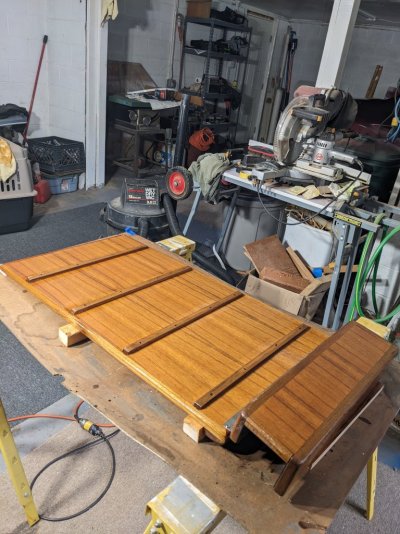
I am in the process of building a ramp. It is 3' long and hinged. There will be a piece of high density poly where it sits on the dock. The box that sits on the cap is lined with neoprene. It is a snug fit. The ramp will have nonskid in the varnish and cleats on the ramp. It will only be down while in use to prevent any destruction from the boat moving with wind and wakes. One of my crew has no lower peripheral vision so the ramp will make things safer.


I am in the process of building a ramp. It is 3' long and hinged. There will be a piece of high density poly where it sits on the dock. The box that sits on the cap is lined with neoprene. It is a snug fit. The ramp will have nonskid in the varnish and cleats on the ramp. It will only be down while in use to prevent any destruction from the boat moving with wind and wakes. One of my crew has no lower peripheral vision so the ramp will make things safer.

")